Balcony antennas
Balcony antennas made from mobile antennas (Hamsticks)
Preamble
Depending on your balcony or installation site, you will have certain limitations.
For example the next story or limited space in general.
The following report heavily depends on my local conditions.
I lived in 16th floor of a house with 16 floors. The fact that there
can be sudden and heavy winds at the 16th floor is a challenge on it´s own.
My part list
- A 15 kg heavy tripod, sold by WIMO.
- A telescopic mast "UKW Berichte ASM 50".
- MFJ-993BRT Automatic Tuner. Not needed in every case, see below.
- AMPRO mobile antennas or HF-Sticks, like MFJ-1620T or any other brand.
- Telescopic Antennas (170 cm max.) with ⅜ " - 24 thread, the ones from MFJ will also do it.
- MFJ-67 loading coils
- Mounting material
- Choke Balun from DX-Wire or whatever you like
Mounting options
Depending on your local conditions, you may be limited to only one option.
The first thing I did was setting up a vertical with the balcony rail as the counterpoise.
This picked up a large amount of noise from the electronics in the house.
So I looked for something that does not depend on the balcony rail.
This approach may also be positive with regards to TVI, BCI or other kinds of influences.
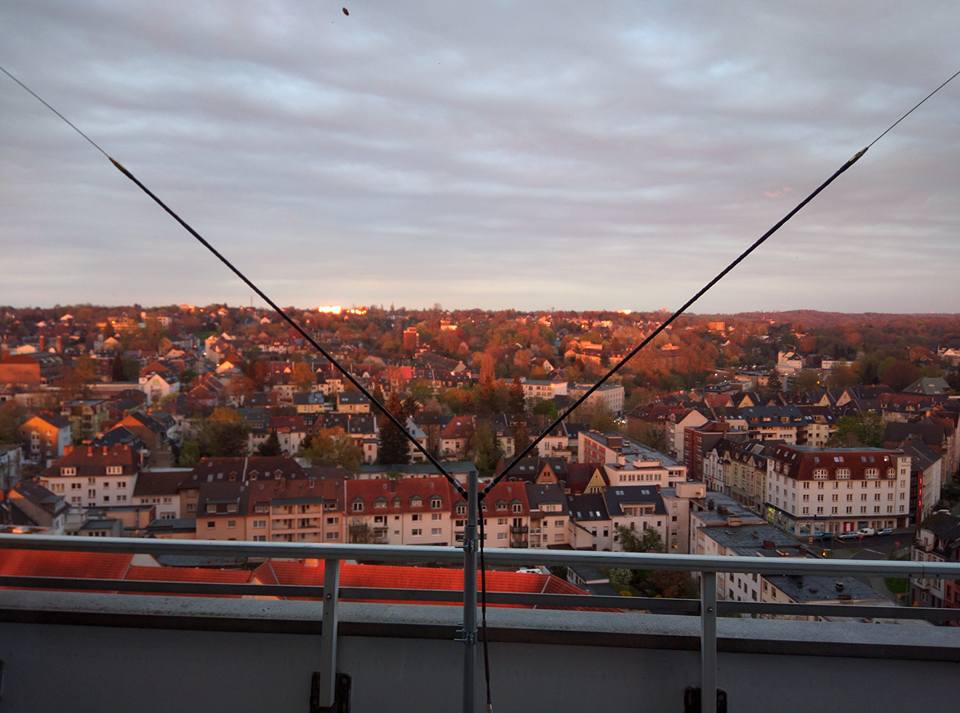
Option 1, the V-Mount:
In option 1, two hamsticks are mounted in a "V-Dipole" position by means of the WIMO V-Mount.
The 45 degree angle should provide a maximum decoupling from the reinforced concrete structures of the house.
This solution does not pick up so much noise, but is very difficult to tune.
There is no deep dip and a tuner is required.
The positive point is that no parts of the antenna stick out.
In case of space limitations to the top, a horizontal mount may be an alternative.
For 6m, only the telescopes can be used and the tuning is much easier.
Wiring:
The WIMO R1 V-mounting center part has a PL output, here the choke balun is connected.
The other end of the choke balun is connected to the coax input of the MFJ-993BRT remote tuner.
Tuning:
Tuning the antennas can be a challenge because of nearby reinforced concrete structures.
For example, the 20m hamsticks: After the initial tuning based on the manual, the lowest SWR could be found somewhere around 13 MHz. Without an antenna analyzer (like the the RigExpert AA-54), I would have been lost. However, after shortening the antenna whips, I could find a match around 14 MHz. In my case, the whip needed to be moved in 10 cm, but this moved the whip into the loading coil. Moving the lower end of the whip near or into the coil will cause high temperatures in the coil and may cause damage. Cut the whips to make sure the coil is not influenced by the whip.
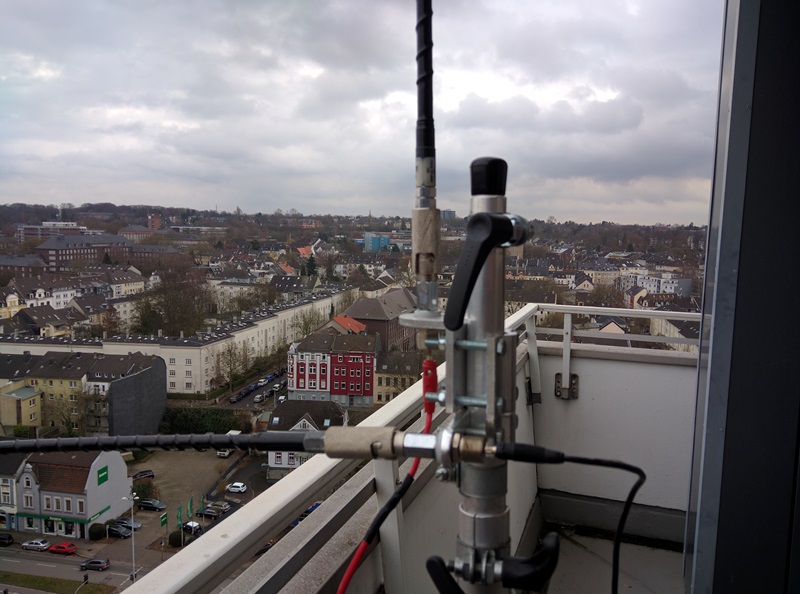
Option 2, the vertical dipole:
In option 2, two hamsticks are mounted in a 90 degree angle by means of truck mirror mounts, so that one is vertical and the other one is horizontal. This is basically a vertical antenna with an elevated radial. This antenna also performs good, but it picks up more noise than the V-Mount.
It is much easier to tune than option 1 because it has a deeper dip. A tuner should not be required.
Wiring:
The mirror mounts have a PL output, I have connected a banana plug to each of them.
The other side of the the wires is connected to the wire post inputs of the MFJ-993BRT remote tuner.
A choke balun is connected to the tuner output that points to the transmitter.
Another option is to solder the wires to a PL socket, followed by a choke balun and 5m Aircell 7 coax.
The end of the coax is connected to the coax input of the tuner.
This allows moving the antenna mast up, so that the antenna is less affected by the house.
Tuning:
Tuning of the antennas in 90 degree mount is easier than the V-Mount, however an Antenna Analyzer is still recommended.
Optimization:
Using multiple bands with one pair of hamsticks in combination with telescopes and loading coils
Hamsticks for 15m and lower bands have lossy loading coils, so I have been looking for an option to optimize this. I found a way to combine hamsticks, telescopic antennas and loading coils with less losses.
After doing the math, I found that a 12m hamstick would be a good staring point, it is only helical wound and has no lossy loading coil. The telescopic antenna and the MFJ-67 loading coils are ⅜ " - 24 threaded and can be easily combined.
I have been able to tune it on 20, 30 and 40m by moving the alligator clip around at the coil.
Changing the band just by changing the alligator clip is a very welcome option.
Option 3, mounting directly to the balcony rail.
A shorter variant to be used in case of obstackles, for example a balcony above:
- Telescopic Antennas with ⅜ " - 24 thread, see part list.
- MFJ-67 loading coil
- Mounting material (a CB Radio Antenna Truck Mirror Mount helped at my balcony)
In this case, the balcony rail has been used as a counterpoise, what may pick up more noise. This setup is so simple, you should give it a try.
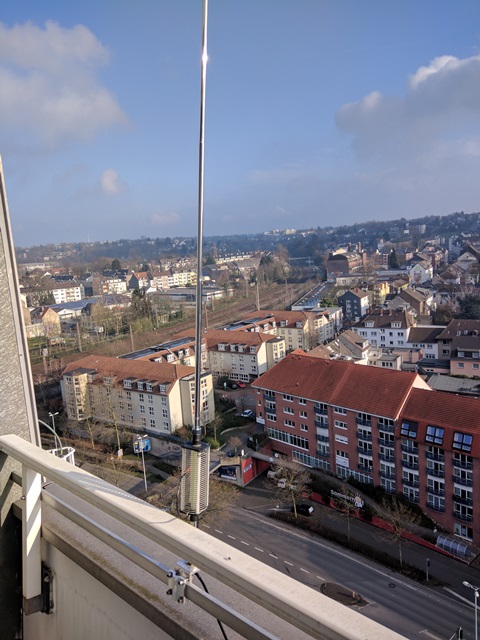
In case you have more space, take the Buddipole Accessory Antenna Arm into consideration.
I have manged to build a 5m long and stable antenna with these components (from buttom to top).
- Short arm
- MFJ-67
- Long arm
- 12m Hamstick without whip
- 1,70 m Telecopic antenna
Conclusion:
There should always be an option to use a mobile antenna on the balcony.
However, what needs to be done heavily depends on the local situation.
Experimenting and optimization are a part of our hobby, do not expect it works right away.